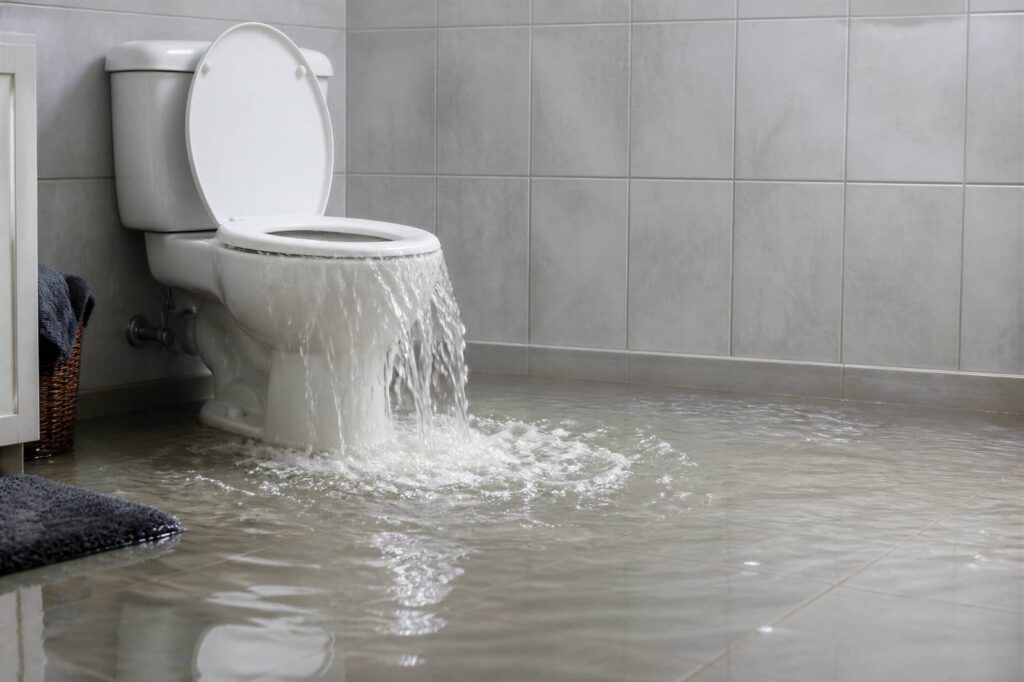
Dark, contaminated water can spread across a floor in minutes, turning a room into a biohazard zone. You secure the area, stop the source, and contain the flow before it spreads farther. Then you remove damaged materials, disinfect surfaces with EPA-registered products, and dry the structure to control microbial growth. Repairs follow, but the critical question is how each step prevents a recurrence.
Key Takeaways
- Emergency sewage cleanup starts with stopping the source and restricting access to prevent contamination spread.
- Crews remove sewage and discard contaminated porous materials that cannot be safely sanitized.
- The affected area is then cleaned, disinfected, and sanitized with EPA-registered products.
- Drying equipment like air movers and dehumidifiers removes moisture and helps prevent mold growth.
- Repairs follow once the structure is dry, and prevention steps reduce future sewage backups.
What Is Emergency Sewage Cleanup?
Emergency sewage cleanup is the immediate response required when wastewater backs up, overflows, or leaks into a building or surrounding area, creating a serious health and structural hazard.
You need to treat it as a controlled remediation workflow, not a simple spill response.
In the emergency sewage cleanup process, you assess contamination, remove sewage, clean affected materials, and restore sanitary conditions while limiting exposure to pathogens and moisture damage.
You’ll also verify whether porous building components need disposal or specialized treatment.
This work protects occupants, reduces odor, and helps you recover a safe, usable space.
When you understand the scope and sequence, you can make informed decisions and stay aligned with a team focused on health, precision, and fast, effective restoration.
How to Secure the Area Fast
First, you should shut off the sewage source and any connected water supply to stop further release.
Next, you must restrict access by isolating the affected zone with barriers and clear warnings so contamination doesn’t spread.
You should also protect nearby surfaces with impermeable coverings to limit secondary damage during cleanup.
Shut Off Sources
Before cleanup can start, you need to stop the sewage at its source and isolate the affected area fast.
First, shut off the main water supply if a supply line is feeding the backup, then close any fixture valves tied to the overflow.
If you can safely reach the sewer cleanout, cap it to limit further release.
Turn off electricity only when standing water threatens outlets or equipment, and use a licensed electrician if needed.
If a sump pump, grinder pump, or backflow device failed, disconnect it according to the manufacturer’s instructions.
Document every shutdown step so your team stays aligned.
By acting methodically, you reduce spread, protect structural materials, and keep your response organized.
That discipline helps everyone on your crew work with confidence.
Restrict Access
Once you’ve stopped the source, you need to secure the area so no one tracks contamination through the building. Set a clear perimeter with tape, cones, or closed doors, and assign one entry point for trained responders only.
You should post simple warnings at eye level so everyone understands the hazard immediately. If possible, keep children, pets, and nonessential staff out of the zone and nearby hallways.
You also need to control traffic flow by directing people around the affected route, not through it. Log who enters and exits, because accountability helps your team stay coordinated and safe.
When you restrict access fast, you protect your crew, preserve evidence of the spill pattern, and keep the cleanup focused.
Protect Nearby Surfaces
While you secure the area, protect adjacent surfaces from splash, tracking, and aerosolized contamination by isolating floors, walls, trim, and fixtures with plastic sheeting or impermeable barriers.
Tape seams tightly, extend coverage beyond the visible loss, and seal HVAC returns so contaminated air can’t spread.
You should place absorbent runners at thresholds and cover high-touch surfaces, including counters, switches, and cabinetry, before anyone moves equipment.
Use clean-to-dirty workflow discipline: keep tools in the contaminated zone, and replace gloves or outer coverings after contact with sewage.
If you share the space with others, mark protected areas clearly so your team stays aligned and no one compromises the barrier.
This fast containment limits cross-contamination, supports safer cleanup, and keeps the restoration process controlled.
How to Contain Sewage Quickly
To contain sewage quickly, you should isolate the affected area immediately and stop the spread at the source.
Shut off water, electricity, and HVAC if they can move contamination, then place physical barriers at doorways and floor openings. Use absorbent socks or berms to redirect flow toward a single low point, and seal vents, drains, and seams with plastic sheeting and tape.
You’ll protect your team by setting clear entry limits and assigning one controlled access route. Keep traffic out, remove pets and bystanders, and wear protective gear before approaching any wet zone.
If you act fast and stay methodical, you reduce airborne exposure, cross-contamination, and structural damage. This disciplined containment step helps your cleanup crew work as one coordinated unit, safely and efficiently.
How to Remove Sewage and Contaminated Materials
You must first contain any remaining sewage spread so you can control the affected area before removal begins.
Next, you should remove all damaged porous materials and any items that can’t be fully sanitized, since they can retain contamination.
Finally, you need to dispose of contaminated waste in sealed bags or approved containers to prevent cross-contamination during transport.
Contain Sewage Spread
The first priority is to isolate the affected area and stop sewage from migrating into clean spaces. You’ll protect your home and your team by controlling airflow, foot traffic, and splash paths right away.
Close doors, seal openings with plastic, and place absorbent barriers at thresholds. Turn off HVAC if it can spread aerosols, and keep everyone out except trained responders.
- Mark the hot zone clearly.
- Use disposable covers on shoes and gloves.
- Move clean tools and belongings outside the perimeter.
- Collect runoff in lined, leakproof containers.
You’re building a controlled work zone, not just reacting. That discipline limits exposure, keeps the cleanup organized, and helps your crew stay confident while you contain the spread.
Remove Damaged Materials
Remove any porous, contaminated materials that sewage has soaked through because they’re difficult to fully decontaminate and can retain pathogens, odors, and moisture.
You should cut out saturated drywall, insulation, carpet, carpet pad, and baseboards with clean, controlled strokes, keeping the removed section slightly beyond the visible damage.
Wear full PPE, including gloves, eye protection, boots, and a respirator, so you stay protected while you work.
As you remove each component, inspect hidden cavities for wicking, staining, or softening that signals deeper contamination.
If structural framing is affected, expose it for later assessment and drying.
Bag small debris immediately and isolate larger sections to prevent cross-contamination.
Work methodically, because a disciplined sequence helps your team restore a safe, healthy space faster.
Dispose Contaminated Waste
Once you’ve removed saturated drywall, insulation, and other porous materials, segregate the contaminated waste immediately so it doesn’t spread sewage residue to clean areas.
You should place all debris in heavy-duty, leak-resistant bags or lined containers, then seal them before transport. Keep contaminated items separate from salvageable materials to protect your team’s workflow and reduce cross-contamination.
- Label every bag as biohazard or sewage waste.
- Use gloves, boots, and respiratory protection during handling.
- Move waste through a designated route to the disposal point.
- Follow local regulations for pickup, transfer, and landfill acceptance.
You’ll keep the site safer when you document what you remove, where it came from, and how it was disposed of.
That record helps your crew stay coordinated and supports compliant restoration.
How Cleanup Sanitizes and Disinfects the Area
After contaminated water is contained and extracted, technicians sanitize all affected surfaces with EPA-registered disinfectants that target bacteria, viruses, and other pathogens common in sewage.
You’ll see them pre-clean residues, then apply the correct dilution and required dwell time so the chemistry can work fully. They scrub porous and nonporous materials, treating seams, joints, baseboards, and fixtures where contamination hides.
If your space includes reusable items, they disinfect each one individually and confirm contact coverage. Technicians also neutralize odor-causing microbes at the source, which helps restore a safer environment for everyone who belongs in the space.
They verify that visible soil is gone before final checks. This process reduces bioburden, limits cross-contamination, and prepares the area for the next recovery steps without leaving unsafe microbial load behind.
How to Dry Floors, Walls, and Air
Technicians then dry floors, walls, and the air by combining high-velocity air movers, dehumidifiers, and targeted ventilation to pull moisture out of materials before it can spread or support mold growth.
You’ll see them position equipment to create steady airflow across wet surfaces and into cavities, then adjust settings from moisture readings. That coordinated setup helps your space return to safe humidity faster, and it keeps you connected to a crew that works methodically.
- Air movers accelerate evaporation.
- Dehumidifiers capture airborne moisture.
- Ventilation removes trapped vapor.
- Monitoring confirms drying progress.
You can expect technicians to keep checking damp zones, because missed moisture can linger behind trim, under flooring, or within wall assemblies.
When Repairs and Restoration Begin
When moisture readings confirm the structure is dry, repairs can begin with removing damaged materials and restoring surfaces that can no longer be cleaned or stabilized.
You’ll see crews cut out contaminated drywall, insulation, trim, and any warped subflooring, then document each affected area before replacement starts.
They’ll inspect framing, fasteners, and adjacent finishes for hidden deterioration, because incomplete removal can trap residue and weaken repairs.
After demolition, they’ll install new materials that match the original assembly and resecure surfaces to proper tolerances.
At this stage, you’re moving from cleanup to reconstruction, so the work should be methodical, verified, and coordinated.
That process helps your space return to a safe, functional condition and gives you a clear path back to normal use.
How to Prevent Future Sewage Backups
To reduce the risk of another sewage backup, you need to control what enters your drains and keep the system maintained. You protect your home by monitoring flow, inspecting lines, and correcting defects before they escalate.
When you stay proactive, you’re part of a group of homeowners who prevent failures instead of reacting to them.
- Schedule sewer line inspections and camera checks.
- Pump your septic tank on the recommended interval.
- Never flush wipes, grease, or hygiene products.
- Install backwater valves and test them routinely.
You should also trim tree roots near buried pipes and clear floor drains.
If water drains slowly, act quickly; delay increases pressure and block risk. Consistent maintenance lowers contamination, protects finishes, and keeps your property resilient.
Frequently Asked Questions
How Long Does Sewage Cleanup Usually Take?
You’ll usually need 1-3 days for sewage cleanup, though larger losses can take a week or more. You’ll speed recovery by acting fast, because technicians must contain contamination, remove waste, sanitize, dry, and restore materials.
Does Homeowners Insurance Cover Sewage Damage Cleanup?
Usually, yes—if the backup’s sudden and accidental, and you’ve got a sewer or water-backup endorsement. You’ll need to verify your policy limits, exclusions, and deductible before you file a claim.
Can I Stay in My Home During Sewage Cleanup?
Usually, you shouldn’t stay; safe comfort and hidden contamination clash. You’ll need to leave if sewage reaches living areas, because crews contain, remove, sanitize, dry, and restore, and airborne pathogens can linger.
What Health Risks Come From Sewage Exposure?
You face bacteria, viruses, parasites, and toxic gases; exposure can cause gastrointestinal illness, skin infections, respiratory irritation, and severe disease. You’ll also risk contamination through cuts, eyes, and inhalation if you touch sewage directly.
Who Should I Call First After a Sewage Backup?
Call a licensed sewage cleanup company first; you’re summoning the knights who contain contamination, remove waste, sanitize, dry, and restore safely. Then notify your plumber and insurer so you’ll be part of a coordinated response.
Final Thoughts
Now you know how emergency sewage cleanup works: you secure the area, contain the spill, remove contaminated materials, disinfect, dry, and then restore damaged structures. Each step reduces health risks and limits secondary damage. As the adage goes, “A stitch in time saves nine,” and that applies here. When you act quickly and methodically, you protect indoor air quality, prevent mold growth, and lower the chance of repeat sewage failures.