
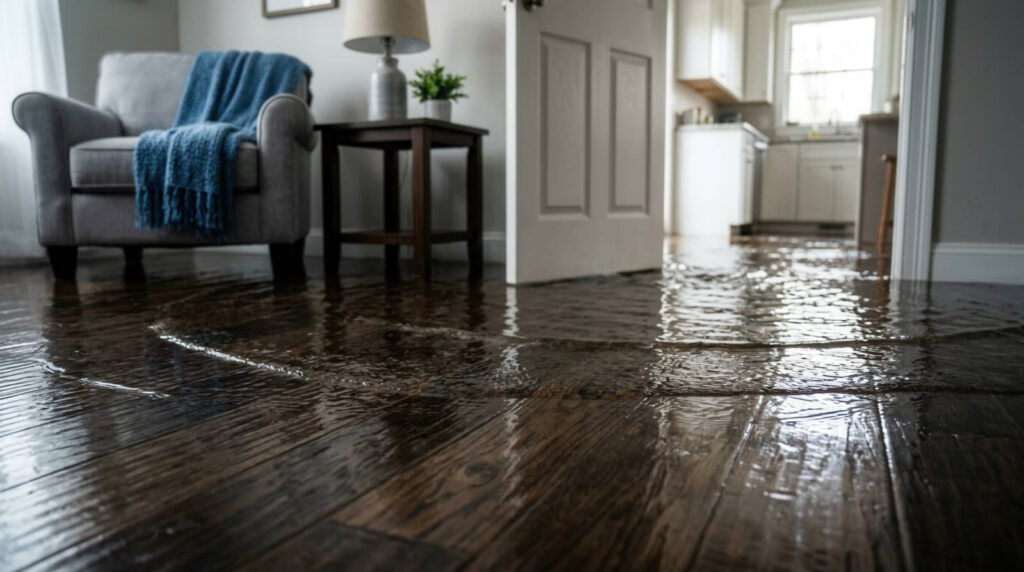
When water damage hits your property, you need to act quickly to limit structural and material loss. You’ll need to assess the source, remove saturated materials, dry hidden moisture, and inspect for compromised framing or subflooring. If you miss one step, you could leave behind conditions that lead to mold, rot, or costly repairs. The process is more technical than it first appears, and the next step determines how much of your property you can truly restore.
Key Takeaways
- Stop the water source, turn off power in affected areas, and remove standing water immediately.
- Dry the property quickly with fans, dehumidifiers, and ventilation to prevent mold and swelling.
- Inspect drywall, flooring, ceilings, insulation, and framing for hidden moisture and structural damage.
- Repair or replace damaged materials, then sanitize and verify moisture levels before restoring the space.
- Prevent future damage with plumbing checks, proper drainage, grading, and routine home inspections.
What Water Damage Repair Includes
Water damage repair includes removing damaged materials, drying affected areas, and restoring the structure to safe, usable condition.
You’ll see crews assess drywall, flooring, ceilings, insulation, and framing to find moisture intrusion and material loss. In water damage repair, they extract wet components, clean affected surfaces, and use controlled drying to reduce swelling, warping, and microbial growth.
They may also sanitize structural cavities and verify moisture levels with meters so you know the area’s back within target ranges.
When the work’s complete, you regain a space that looks sound, performs correctly, and supports your household’s routines.
This process helps you rejoin a home environment that feels secure, familiar, and ready for daily use.
Act Fast to Limit Water Damage
When moisture enters your home, you need to act quickly to limit how far it spreads and how much material it damages.
Shut off the water source if you can, then cut power to affected areas to reduce electrical risk. Move furniture, rugs, and electronics away from the wet zone, and place aluminum foil or blocks under legs to protect surfaces.
Use towels, mops, and a wet vacuum to remove standing water before it migrates into framing or subflooring. Open doors to improve airflow, and call a qualified water damage team right away so you’re not facing the cleanup alone.
Fast action lowers repair costs, reduces microbial growth, and helps you protect the parts of your home your household depends on.
Dry Out Walls, Floors, and Ceilings
You should first check walls, floors, and ceilings with a moisture meter to identify trapped water and hidden wet zones.
Then you can use fans, dehumidifiers, and controlled ventilation to increase airflow and accelerate evaporation.
Drying times vary by material and saturation level, so you’ll need to monitor readings until moisture returns to acceptable levels.
Moisture Detection
Moisture detection is the first step in drying out walls, floors, and ceilings after a leak or flood, because trapped water can keep damaging drywall, wood, and insulation long after the visible surface looks dry.
You should check affected areas with a moisture meter, then compare readings against nearby dry materials to find hidden saturation.
Inspect baseboards, corners, ceiling seams, and flooring joints, where water often migrates.
Look for discoloration, swelling, soft spots, musty odor, and temperature changes that signal retained moisture.
If readings stay elevated, you’ll need to keep tracking the area until levels return to normal.
Accurate detection helps you protect your home, prevent mold growth, and make smart restoration choices with confidence.
Airflow Techniques
Proper airflow speeds evaporation and helps dry walls, floors, and ceilings after water damage. You should place high-velocity fans to create continuous surface movement, then aim them along the length of wet drywall, baseboards, and flooring seams.
Open cabinet doors, remove vent covers, and lift carpet edges so air reaches concealed cavities. If you’re drying a ceiling, direct air upward without forcing loose material to sag.
Combine cross-ventilation with dehumidification to pull moisture from the air your fans suspend. Keep pathways clear so air can circulate evenly around affected areas, and reposition equipment to eliminate dead zones.
This setup helps your restoration team work efficiently with you, protects structural materials, and supports a cleaner, safer recovery environment for everyone in your home today.
Drying Timelines
With airflow already moving across wet surfaces, drying timelines depend on how much material absorbed water, how long it stayed wet, and how fast humidity drops.
You’ll usually see drywall dry in 24 to 72 hours, but saturated insulation, subfloors, and framing can take several days longer.
Carpet and pad may release moisture quickly, yet wood floors often need monitored, gradual drying to prevent cupping or cracking.
Ceiling cavities dry more slowly because trapped moisture lingers above finished surfaces.
You should verify progress with a moisture meter, not just touch.
If readings stay elevated, keep dehumidifiers, air movers, and containment in place.
When you track these markers together, you stay aligned with the rest of the restoration team and protect your property from hidden damage.
Fix Structural Damage the Right Way
When water weakens framing, joists, subfloors, or load-bearing members, you need to inspect and repair the damage before finishing any cosmetic work.
You should probe each suspect area with an awl or moisture meter, then mark any soft, split, or warped sections. If a member has lost strength, you’ll need to sister, splice, or replace it with code-compliant lumber of matching size and grade.
Refasten connections with structural screws, bolts, or approved hangers, and restore proper bearing where supports were undermined.
Keep the work plumb, level, and square so your home stays stable and your team can move forward with confidence.
If you’re unsure about a load path, bring in a qualified structural professional before closing the assembly.
Replace Damaged Drywall and Flooring
After you’ve repaired any weakened framing or subflooring, you can start replacing the damaged drywall and flooring.
Cut drywall back to clean, solid edges, then install new panels that match the thickness of the surrounding wall. Tape, mud, and sand the joints until they’re flush and smooth.
For flooring, remove warped boards, tiles, or carpet padding, then fit replacement materials according to the manufacturer’s layout and fastener requirements. Keep seams tight and connections even so the repaired area blends with the rest of your space.
If you’re working with a team, coordinate measurements and finish work carefully so everyone stays aligned.
When you use proper materials and exact installation methods, you restore strength, appearance, and comfort together.
Prevent Future Water Damage
To prevent future water damage, you should schedule routine plumbing inspections to detect leaks, corrosion, and failing joints before they cause structural issues.
You should also improve drainage systems by clearing gutters, extending downspouts, and regrading soil so water moves away from your foundation.
These measures reduce moisture intrusion and help protect drywall, flooring, ceilings, and framing from recurring damage.
Routine Plumbing Inspections
Routine plumbing inspections help you catch leaks, corrosion, loose fittings, and pressure issues before they turn into costly water damage. You should check exposed supply lines, shutoff valves, pipe joints, and fixture seals on a regular schedule.
Use a flashlight to spot mineral buildup, discoloration, or active moisture, and listen for ticking or hissing that can signal hidden stress. When you know your system’s condition, you protect your home and support a well-maintained property.
- Test each faucet and valve for smooth operation.
- Inspect under sinks and behind appliances for dampness.
- Monitor water pressure for sudden changes.
If you document findings and repair small defects early, you stay ahead of failures and keep your household in the confident, informed group that prevents avoidable damage.
Improve Drainage Systems
Effective drainage is your home’s first defense against future water damage. You should grade soil so it slopes away from your foundation at least 6 inches over 10 feet, and keep gutters clear so runoff moves quickly.
Install downspout extensions that discharge water several feet from the structure, and verify that splash blocks or drain lines don’t clog. If your property holds water, add French drains, channel drains, or a sump pump to redirect excess moisture.
Inspect yard drains after heavy rain, and repair settled pavement that traps water near walls. When you maintain these systems, you protect drywall, flooring, ceilings, and structural framing from repeated moisture intrusion.
That keeps your repair work lasting longer and helps your home stay dry, safe, and ready for your household.
Frequently Asked Questions
How Do I Know if Water Damage Is Covered by Insurance?
You’ll know by reviewing your policy: sudden, accidental water damage is often covered, while gradual leaks, floods, and poor maintenance usually aren’t. Check exclusions, document damage, and call your insurer promptly for claim guidance.
Should I Hire a Professional or Handle Minor Water Damage Myself?
You can handle minor water damage yourself, but hire a pro if moisture spreads; like a tiny spark, it can flare. You’ll protect your home, save time, and stay confident with your crew.
How Long Does Mold Typically Take to Develop After Water Exposure?
Mold can start growing within 24 to 48 hours after water exposure, so you should dry affected areas fast. If you miss that window, you’ll increase damage, health risks, and remediation costs considerably.
What Equipment Is Used to Detect Hidden Moisture Behind Walls?
You’d spot hidden wall moisture with pinless moisture meters, pin-probe meters, thermal imaging cameras, and hygrometers—almost like detective gear for your home. These tools quickly reveal damp pockets, so you can join the smart, proactive crew.
Can Water-Damaged Furniture and Belongings Be Salvaged?
Yes, you can often salvage water-damaged furniture and belongings if you act fast. You’ll need to dry, clean, disinfect, and assess structural integrity; porous materials and mold-contaminated items usually can’t be safely restored.
Final Thoughts
In water damage repair, you’ve got to act fast, dry materials thoroughly, and assess structural issues with precision. You’ll limit long-term harm by removing damaged drywall, flooring, and insulation before mold can spread. Use proper tools, document every affected area, and restore each component to code. Remember, a medieval approach won’t work here: modern moisture control matters. By staying proactive and maintaining drainage, you’ll protect your property and reduce the risk of future damage.