
When you spot water damage in your floor, you need to move fast and assess the full extent before the problem spreads. You’ll need to check for staining, swelling, soft spots, and hidden moisture in the subfloor, then decide what can be dried, salvaged, or removed. The right repair depends on the material, the drying time, and what’s happened below the surface. What you do next can change everything.
Key Takeaways
- Inspect for staining, cupping, swelling, soft spots, and damaged trim to determine how far the water damage spread.
- Remove standing water, then dry floors and subfloors with air movers and dehumidifiers until moisture readings return to normal.
- Salvage flooring only if boards are flat, stable, and consistently dry, with no warping, delamination, or seam damage.
- Remove swollen, loose, or delaminated sections carefully, checking the exposed subfloor for trapped moisture or discoloration.
- Replace flooring only after the subfloor is fully dry and level, using material suited to the room’s moisture conditions.
Assess Floor Water Damage
Before you repair anything, you need to assess the extent of the water damage so you can decide what can be dried, what must be removed, and what needs replacement.
Start by inspecting the floor surface, joints, and edges for staining, cupping, swelling, or soft spots. Press gently around affected areas to find hidden weakness, and check adjacent trim for moisture marks.
In repairing floors after water damage, you’ll want to note whether the damage is localized or widespread, because that changes your repair plan.
Document each affected section with photos and measurements so you can communicate clearly with your contractor or restoration team.
Careful assessment helps you stay in control, make sound decisions, and move forward with confidence as part of a well-informed homeowner community.
Dry the Floor and Subfloor Completely
Once you’ve identified the wet areas and mapped the damage, dry the floor and subfloor completely so trapped moisture doesn’t lead to swelling, mold, or structural decay.
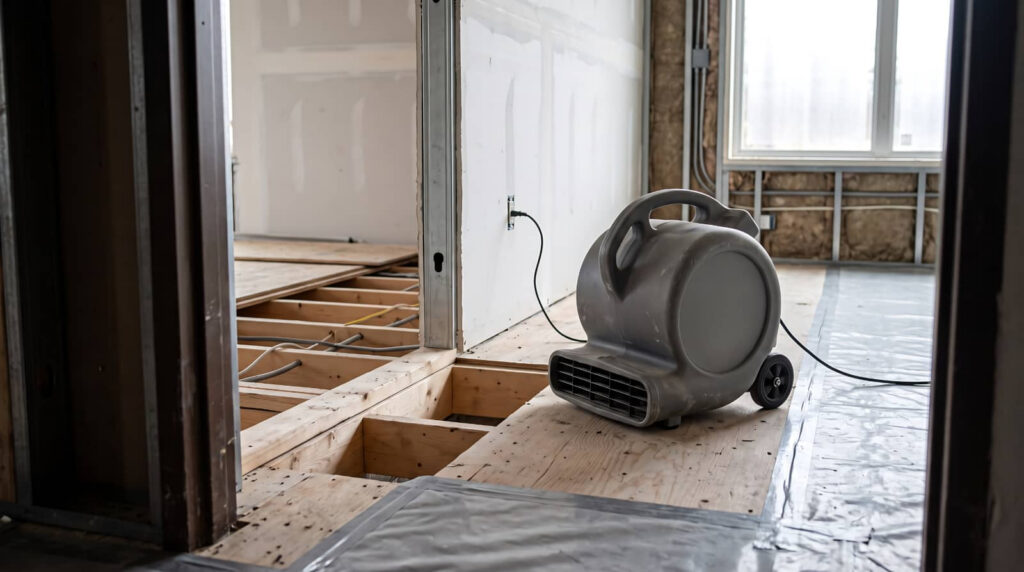
You should remove standing water first, then run air movers to keep air circulating across the surface and into edges, seams, and cavities. Pair them with dehumidifiers to pull moisture from the air and speed evaporation.
Open nearby doors or vents if that improves airflow, but keep humidity low and temperature stable. Check moisture readings in multiple spots, including the subfloor, until they return to baseline.
Don’t rush this stage; your space needs full recovery, not just a dry surface. When you dry thoroughly, you protect the structure and give your home a safer, healthier reset.
Decide What Flooring You Can Salvage
After the floor and subfloor are fully dry, inspect each material closely to decide what you can keep and what you need to replace.
You can usually salvage boards, planks, or tiles that stay flat, remain firmly bonded, and show no cupping, warping, delamination, or soft spots. Check seams, edges, and fasteners for staining, swelling, or corrosion. If the finish is intact and the material feels stable underfoot, it’s often a good candidate for reuse.
Keep a moisture meter handy and compare readings across the area; consistent levels tell you the assembly has recovered.
When you evaluate carefully, you protect your home’s structure and preserve the parts that still fit your space. That helps you move forward with confidence, knowing you’re making sound, cost-aware choices.
Remove Damaged Flooring and Underlayment
Lift out any flooring and underlayment that can’t be saved, starting with visibly swollen, loose, or delaminated sections.
Work methodically so you don’t disturb sound material nearby. Use the right tools for the floor type, and keep cuts shallow to protect the subfloor below.
As you remove each piece, inspect the exposed area for trapped moisture, discoloration, or softened fibers that signal hidden damage.
Bag debris promptly to limit dust and keep the workspace organized and safe for your crew.
If adhesive resists, release it carefully rather than forcing the material and scarring the surface.
Stay focused on clean removal, because a well-cleared area helps your team feel confident, coordinated, and ready for the next step.
Replace Water-Damaged Floors Correctly
Install the replacement flooring only after the subfloor is fully dry, level, and structurally sound. You’ll protect the new material by matching the product to the room’s moisture exposure, whether that’s engineered wood, tile, luxury vinyl, or treated laminate.
Acclimate the flooring per manufacturer instructions so it stabilizes before installation. Check expansion gaps, fastener spacing, and adhesive compatibility, because each detail affects performance.
If you’re replacing a section rather than the whole floor, blend the new boards or tiles with the existing layout so the room feels continuous and familiar.
Finish by sealing edges, reinstalling trim, and verifying that doors open freely. When you follow these steps, you give your home a clean reset and join the group of owners who restore floors with confidence.
Frequently Asked Questions
How Do I Tell if Water Damaged My Floor Joists?
Check for sagging, soft spots, persistent squeaks, stains, mold, or rusted fasteners; probe joists with an awl for softness. If you notice movement or rot, you should inspect from below and call a pro.
Will My Homeowners Insurance Cover Floor Water Damage Repairs?
Usually, yes, if your policy covers sudden water events; it’s not a black hole. You’ll need documentation, prompt mitigation, and an adjuster’s inspection. Check exclusions for seepage, flooding, or neglected maintenance.
How Long Should I Wait Before Walking on Drying Floors?
Wait until you’re told the floor’s safe, usually 24 to 72 hours, depending on materials and drying equipment. You shouldn’t walk on it early; you’ll slow drying, increase warping, and risk hidden damage.
Can I Use Fans Alone to Dry Flooded Flooring?
No, thou can’t rely on fans alone; they’ll only circulate air. You should extract standing water, dehumidify, and inspect subflooring. Act quickly, and you’ll protect your flooring, home, and peace of mind.
What Signs Indicate Hidden Mold After Floor Water Damage?
You’ll notice hidden mold by musty odors, discoloration, peeling paint, warped flooring, and recurring dampness. You might also feel worsening allergies. Inspect under baseboards and subfloors, and test promptly if symptoms persist.
Summary
When you repair floors after water damage, you need to act quickly, assess thoroughly, and dry everything completely before moving forward. You can often salvage sound materials, but you should remove any warped flooring or compromised underlayment without delay. Then, replace damaged sections with properly acclimated materials and seal them correctly. As the saying goes, “An ounce of prevention is worth a pound of cure.” With careful work, you’ll restore both strength and appearance.