
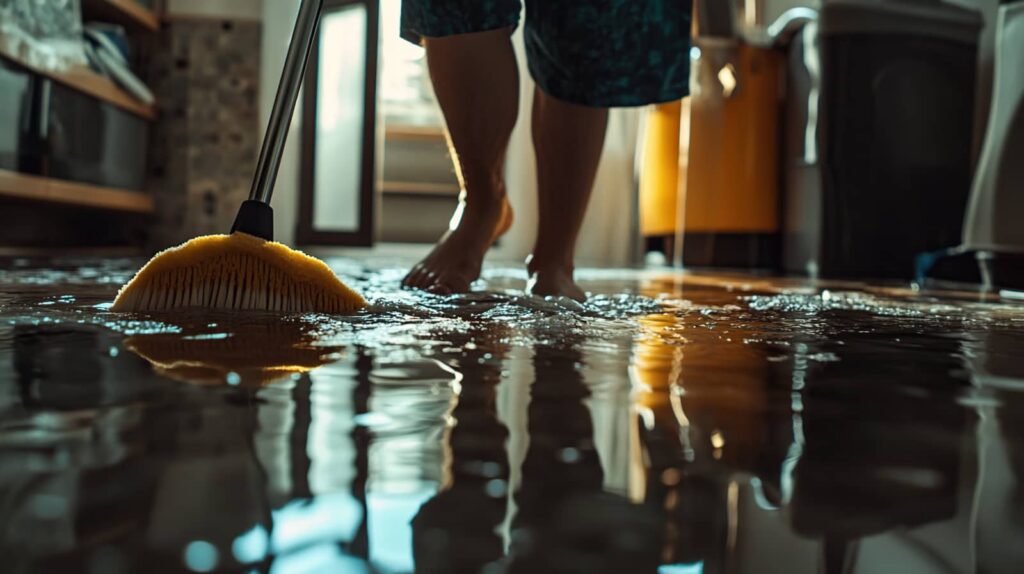
You see the damage, you hear the moisture meters, and you feel the urgency as a restoration crew arrives. They inspect the source, map hidden moisture, and set up containment before extracting standing water and placing drying equipment. Then they monitor walls, floors, and concealed spaces until levels drop, clean and sanitize affected areas, and complete needed repairs. What happens next can determine how much of your property they can save.
Key Takeaways
- Technicians inspect the damage, find the water source, and map moisture in hidden areas.
- They remove standing water, protect the area, and set up safe drying equipment.
- Air movers and dehumidifiers dry walls, floors, and trapped moisture while levels are monitored.
- Cleaners sanitize affected surfaces, control odors, and begin needed repairs to damaged materials.
- The visit ends with safety checks, humidity verification, and restored rooms ready for normal use.
Water Damage Restoration Process
A water damage restoration visit typically starts with a thorough inspection so the team can identify the source of the water, assess the extent of the damage, and determine what materials need immediate attention.
You’ll then see technicians contain affected areas, remove standing water, and set up drying equipment to stabilize your space.
This is what happens during water damage restoration: fast extraction, targeted drying, and careful monitoring to prevent secondary damage.
You’re kept informed at each step, so you know which rooms are safe to use and what needs repair.
The crew also documents conditions, protects salvageable belongings, and prepares surfaces for cleaning and restoration.
Inspection and Moisture Mapping
Technicians begin by checking visible damage, identifying the water source, and tracing moisture into walls, floors, ceilings, and hidden cavities.
You’ll see them use moisture meters, thermal imaging, and careful notes to build a clear map of what’s wet and what’s still sound. This step helps them separate affected materials from areas that only look damp, so you get a targeted plan instead of guesswork.
They’ll document readings room by room, compare surface and hidden moisture levels, and mark problem zones for the crew. That record gives you confidence that the right areas are being addressed and that nothing important gets missed.
Water Extraction and Safety Setup
You start with a safety assessment setup to identify electrical, slip, and contamination hazards before any work begins.
Next, you remove standing water with extraction equipment to reduce saturation and limit further damage.
Then you map out equipment placement so air movers and dehumidifiers can work efficiently without blocking safe access.
Safety Assessment Setup
Before extraction starts, the restoration crew checks the area for immediate hazards and sets up a safe work zone. You’ll see technicians scan for electrical risks, weakened flooring, and contaminated materials before they move equipment in. They’ll shut off affected utilities when needed, then place protective barriers and warning signs so your space stays controlled and easy to navigate.
- GFCI-protected cords route power safely
- Moisture meters verify hidden saturation zones
- PPE shields the team from debris and irritants
- Containment helps keep unaffected rooms cleaner
This setup lets the crew work efficiently while keeping you informed and protected. You’re not left guessing; the process is organized, transparent, and built to reduce risk for everyone in your home or business.
Standing Water Removal
With the area secured, the crew starts removing standing water using pumps, wet vacs, and other extraction equipment sized to the damage.
You’ll see technicians work methodically, moving from the deepest puddles to thin films of water that hide in carpet, padding, and low spots. This step matters because the longer water stays, the more it can spread into structural materials and raise the risk of microbial growth.
The team watches for slippery surfaces, electrical hazards, and saturated contents while they extract, so you can feel confident the space is being handled safely.
As the water level drops, they check for pockets of trapped moisture and keep working until the visible water is gone.
You’re not facing this alone; the crew stays focused on restoring a safer, drier environment.
Equipment Placement Plan
Next, the crew maps out an equipment placement plan so extraction and safety controls work without getting in each other’s way.
You’ll see pumps, vacuums, cords, and barriers positioned to protect pathways, walls, and unaffected rooms. The team places extraction units where water remains deepest, then sets dehumidifiers and air movers where airflow can reach hidden moisture.
They also mark trip hazards, isolate outlets, and keep noise and moisture from spreading. This layout helps your home stay organized while the crew works efficiently and safely.
- Wet zones get first access for extraction.
- Dry areas stay clear for family movement.
- Power runs are secured and labeled.
- Safety signs guide everyone around hazards.
Drying Walls, Floors, and Hidden Areas
Once the standing water is gone, technicians dry the walls, floors, and hidden cavities to stop moisture from lingering and causing further damage.
You’ll usually see air movers aimed across surfaces to speed evaporation, while dehumidifiers pull damp air out of the room.
If your drywall, baseboards, or flooring soaked up water, crews may open small access points so trapped moisture can escape.
They’ll also lift carpet edges or remove wet padding when needed to let underlayers dry evenly.
This careful setup helps protect structural materials and reduces the chance of warping, swelling, or microbial growth.
You’re not left guessing, either; the team works methodically so your space can return to a safe, stable condition that feels like home again.
Monitoring Moisture Levels During Drying
As the drying equipment runs, technicians keep checking moisture levels to make sure the affected areas are actually drying and not just feeling dry on the surface.
You’ll see them use calibrated moisture meters, thermal imaging, and pin or pinless probes to compare readings in walls, floors, and framing. They track each zone against a baseline, so they can spot hidden dampness and adjust airflow, heat, or dehumidification quickly.
This steady monitoring helps protect your home from lingering moisture and gives you clear proof that the process is working.
- Readings taken at set intervals
- Damp spots mapped on affected materials
- Equipment settings adjusted as conditions change
- Progress shared so you know what’s happening
Cleaning, Sanitizing, and Odor Control
After drying is complete, technicians clean affected surfaces and contents to remove dirt, residue, and any contaminants left behind by the water intrusion.
You’ll see them use appropriate detergents, soft brushes, and controlled wiping methods to lift soil without spreading it.
Next, they apply sanitizing agents where needed to reduce microbial contamination and support a healthier indoor environment.
If odors remain, they treat the source with deodorization methods such as air scrubbing, thermal fogging, or targeted odor neutralizers.
These steps don’t just freshen the space; they help you feel confident that your home is being handled with care.
Throughout the process, your crew works systematically, checks results, and keeps you informed so you always know what’s happening and why it matters.
Repairs and Final Restoration
You’ll next address structural repairs, replacing damaged framing, drywall, insulation, or subflooring to restore the building’s integrity.
After that, you’ll complete surface restoration by patching, sanding, repainting, and reinstalling finishes so the affected areas match the rest of your space.
Final touches, such as trim, sealants, and fixture adjustments, help make sure everything looks finished and functions as expected.
Structural Repairs
Once the affected areas are fully dry and stable, the restoration team can begin structural repairs to bring your property back to its pre-loss condition.
You’ll see damaged framing, subflooring, drywall, and insulation evaluated for load-bearing integrity and moisture-related failure. Your crew may remove compromised materials, then install new structural components that match existing specifications and local code requirements.
Throughout the process, they’ll check alignment, fastening, and seal points to help your home stay safe and sound.
- Replaced joists and studs
- New subfloor sections
- Secured wall framing
- Reinforced openings and supports
These repairs help restore strength, stability, and confidence, so you can feel at home again with your property’s core structure properly rebuilt.
Surface Restoration
With the structure stabilized, the restoration team turns to surface restoration to rebuild the finishes that make the space look and feel complete.
You’ll see damaged drywall, insulation, trim, and underlayment replaced with materials that match the original assembly. Crews cut back to sound edges, secure new sections, and tape, mud, or sand joints for a smooth, stable surface.
They also repair flooring connections, baseboards, and cabinetry details where moisture caused swelling or warping. Throughout the process, you stay informed so you know what’s being restored and why.
This phase brings your space back to a clean, usable condition while preserving proper alignment, fit, and function. By the end, your rooms won’t just be dry—they’ll feel whole again, and you’ll have a solid foundation for normal life.
Finishing Touches
As the repairs near completion, the team adds the finishing touches that bring the space back to its final condition. You’ll see trim reinstalled, drywall patched, and paint matched so the room looks consistent again.
Technicians test outlets, fixtures, and appliances to confirm everything works safely. They also check seams, caulk lines, and flooring connections to make sure moisture didn’t compromise hidden areas.
Before they leave, they remove debris, wipe surfaces, and verify that humidity and temperature stay within normal limits. This last step helps you feel confident that your home is stable, clean, and ready for use again.
You’re not just getting repairs—you’re regaining a familiar space that feels complete.
- Repaired walls and clean paint lines
- Secure flooring and smooth connections
- Functional lights, outlets, and fixtures
- A dry, tidy, ready-to-live-in room
Frequently Asked Questions
How Soon Should I Call After Discovering Water Damage?
Call right away, ideally within hours, because you’ll limit structural damage, mold growth, and repair costs. You should shut off the water source, if safe, then contact a restoration team and document the affected areas.
Will My Insurance Cover the Restoration Visit?
Your insurance may cover it, depending on your policy and the cause; water can be a storm, a burst pipe, or a hidden leak. You should document damage, call promptly, and ask your adjuster.
Can I Stay in My Home During the Process?
You can often stay home, but you’ll need to avoid affected areas while crews inspect, extract, dry, and repair. If contamination, mold, or major structural damage exists, you’ll likely need temporary relocation.
How Long Will the Entire Restoration Take?
You’ll usually need a few days to two weeks, depending on damage, drying time, and repairs. Your team’ll inspect, extract, dry, monitor, clean, and restore, keeping you informed so you feel supported throughout.
What Items Should I Move Before Technicians Arrive?
Move small valuables, electronics, documents, rugs, and lightweight furniture away from wet areas. You can leave heavy items in place, and they will be safe. Technicians will guide you if anything needs extra handling.
Review
During a water damage restoration visit, you’ll see technicians inspect the source, map moisture, extract water, and set up drying equipment. They’ll monitor hidden dampness with precision, then clean, sanitize, and control odors as the affected areas dry. Repairs and final restoration bring your space back to safe, usable condition. Though the process can feel like a fast-moving ballet, each step is methodical, reassuring, and designed to protect your property from further damage.